The Crayonz JournalDesign ideas
How to Design T-Shirts: A Step-by-Step Guide
The five steps from a typed idea to a print-ready t-shirt design, including the part most people skip: checking it before ordering.
By the Crayonz team5 min read
You do not need design software or drawing skill to design a t-shirt. The studio turns a typed description into a print-ready design in about a minute. What actually decides whether the result looks good is less about the tool and more about the five steps around it, what you ask for, where it goes, and whether you check it before ordering.
Step 1: Start with one idea, not five
A strong first design is usually one idea executed cleanly: a single icon, one line of text, one clear illustration. Busy art with several competing elements tends to print muddy, especially at a smaller size, since detail that is easy to see on a screen gets lost once it is scaled down onto fabric.
This is true whichever route gets you to the artwork, a typed prompt or an uploaded photo. A photo with a cluttered background behind the subject carries the same problem as an overcrowded AI prompt: too much competing for attention once it is actually printed at shirt size and viewed from a normal distance.
If you already have five ideas, pick the one you would still want to wear in six months, not the one that felt cleverest when you thought of it. A useful test: describe the idea to someone else in one sentence. If it takes three sentences and a caveat to explain what it is, it is probably trying to do too much for one print.
Step 2: Pick where it goes before you describe it
Placement changes what kind of design actually works, and deciding it before you type the prompt saves a round of redoing the artwork afterwards. A small chest icon reads fine in fine detail; a full front graphic needs to be simple enough to hold up at that scale; a back print has the most uninterrupted space to work with on most garments, since nothing crosses it the way a zip or a collar can on the front.
Garment shape matters here too. A zip hoodie's front is split down the middle, so a centred chest design has to move to one panel or the back instead. An oversized tee's wider body gives a front graphic more room to breathe than a regular-fit tee of the same design would, which is worth knowing before settling on a scale for the artwork itself.
A small icon, chest placement
A compact, simple mark sized for the chest, the most common starting placement and the easiest to get right on a first attempt.
minimal single-colour icon of [a simple subject], small chest placement, print-ready, plain background
A full front graphic, filling the print area
A bolder illustration scaled up to fill most of the front, which needs simpler shapes than a small chest icon to stay legible at that size.
bold flat illustration of [a subject], filling the front print area, single colour, print-ready, plain background
Step 3: Describe the artwork, not the shirt
The prompt should describe what gets drawn, not the garment it goes on. Say "a minimal line-art fox" rather than "a t-shirt with a fox on it", and never mention a background, since every design generates on a plain background by default, ready to place. A prompt that tries to describe the shirt as well as the art usually confuses the AI about what the actual subject of the image is meant to be.
Style words do real work in a short prompt: minimal, flat illustration, continuous line art, bold typography, photo treatment. Each one tells the AI roughly how much detail to put in and how the shapes should be built, which matters more for a clean result than a long paragraph of adjectives describing the subject itself.
Personal details go in as visible blanks you fill in yourself: a name in square brackets, a date written out as [your date: 14.02.2024]. The studio opens with the idea typed into the prompt box so you can edit it before anything generates, never sent automatically, which is also why a prompt written with blanks in it is reusable for anyone else ordering the same idea with their own details swapped in.
Step 4: Generate, then adjust by eye
The first result from a prompt is a starting point, not a final answer. Resize, recolour and reposition it inside the dashed print-area outline until it actually looks right on the garment, not just on its own. A design that looked perfectly centred as a standalone square image can sit oddly once it is scaled down onto an actual chest print area, so this step is not optional polish, it is where most of the final look actually gets decided.
If the first result is close but not quite right, a small change to the prompt usually works better than starting over: adjust one word, like swapping bold for minimal, rather than rewriting the whole description from scratch.
A short typographic line with a blank to fill in
A clean line of type built around one personal detail, the kind of design that only finishes once you type in the actual word.
bold clean typography reading "[your word]", centred chest placement, single colour, print-ready, plain background
Step 5: Check it before you order
Zoom in to the actual print size inside the studio, not just the thumbnail. Small text that reads fine at a glance can turn illegible once it is the real size on a shirt, and a garment colour that looks fine on screen can wash out a light-coloured design in person.
| Placement | Best for | Watch out for |
|---|---|---|
| Small chest | Fine detail, subtle designs | Text under about 2cm tall can blur when printed |
| Full front | Bold illustrations, statement graphics | Busy detail gets lost at this scale, keep shapes simple |
| Back | Large single graphics, wide wordmarks | Won't be seen face-on, pair with a smaller front mark if needed |
| Sleeve | Small personal touches, monograms | Narrow width rules out anything wide or horizontal |
Common mistakes, and how to avoid them
- Cramming the whole idea into the prompt as one long sentence, when a shorter, more specific description usually generates a cleaner result.
- Forgetting to check the design at its actual print size, catching a legibility problem only after the design has already been ordered.
- Choosing a garment colour that is close to the design's own colours, which makes a print disappear instead of standing out.
- Designing a full front graphic with the same amount of fine detail that worked fine on a small chest icon, when the two placements need different levels of detail to read cleanly.
- Skipping the placement decision entirely and leaving the design centred by default, when a back print or an offset chest panel would have suited the actual garment better.
What this means for your order
One idea, the right placement, a prompt that describes the artwork rather than the shirt, and a check at real size before ordering. That sequence works the same whether you are designing a Classic T-Shirt at ₹699 or any other garment on Crayonz, and costs nothing extra whether the design is simple or detailed.
The tool draws fast. What actually decides whether the shirt looks good is the five minutes spent before and after it does.
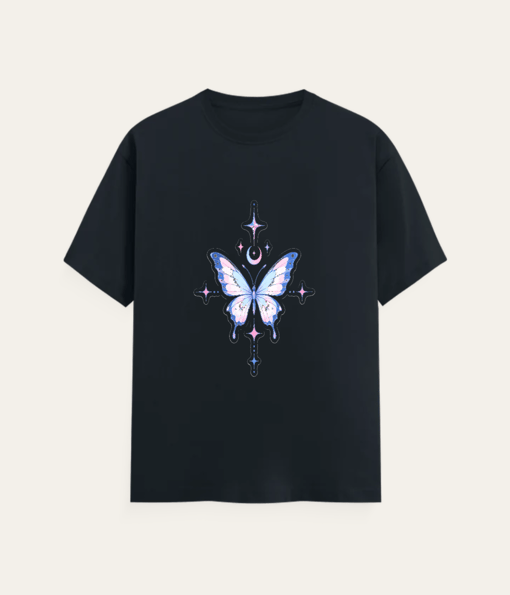
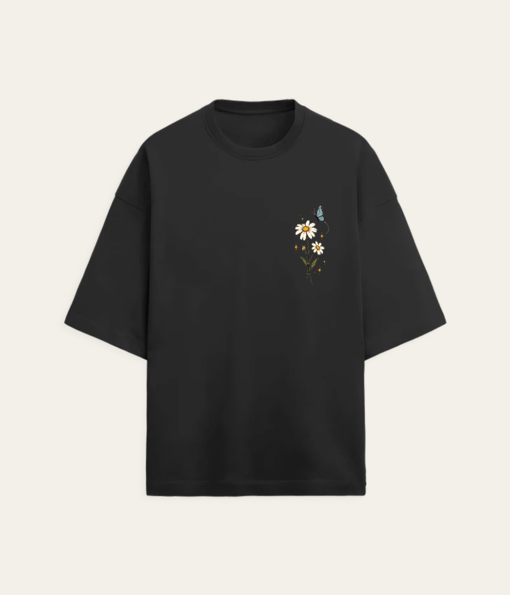
Clean, simple prints already on Crayonz
Questions people ask
Do I need design software or drawing skill to design a t-shirt?
No. Describe the idea in the studio and the AI draws a print-ready design in about a minute, which you can still resize, recolour and reposition yourself afterwards.
Can I edit the AI-generated design myself?
Yes. Resize, recolour and reposition it inside the dashed print-area outline before ordering, as many times as needed until it looks right.
What size should text be so it prints clearly?
Check it at the actual print size inside the studio rather than the thumbnail. Small text under about 2cm tall is the most common thing that blurs once printed, so zoom in before finalising it.
Can I upload my own art instead of describing it?
Yes. Upload a JPG, PNG, WebP or SVG directly in the studio and place it on the garment yourself, the same placement and resizing steps apply either way.
How long does it take to go from an idea to a finished design?
Generating a design takes about a minute. Placing, resizing and checking it at real size before ordering usually takes a few minutes more, depending on how much adjusting the first result needs.
Your idea, on a shirt, this week.
Upload a photo or describe it. One piece, no minimum, arrives in 4 to 8 days across India.